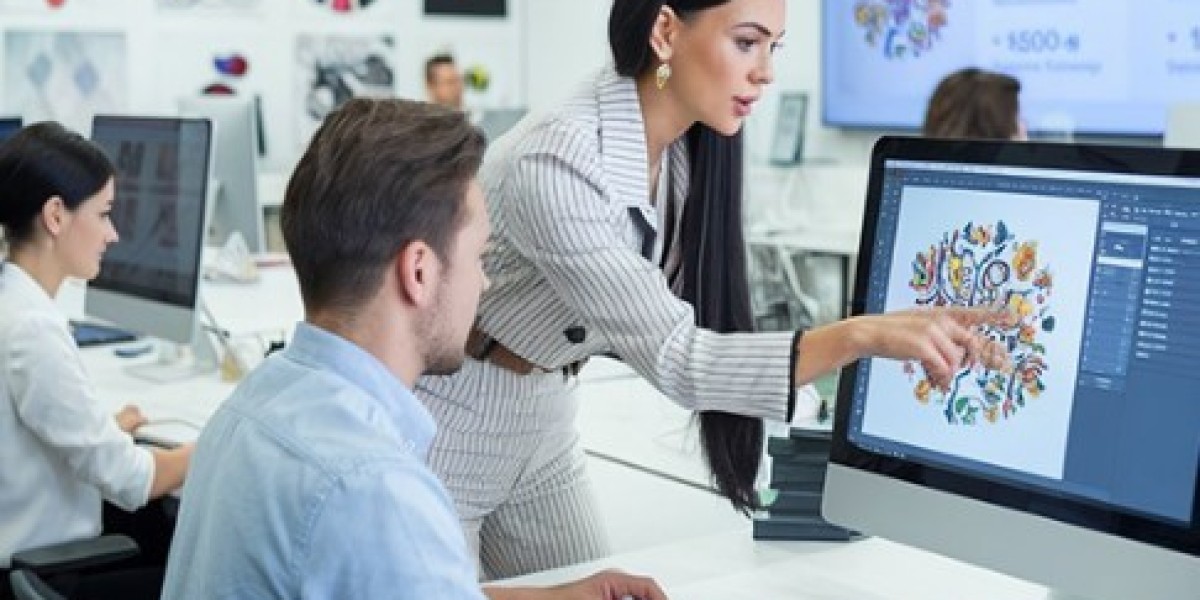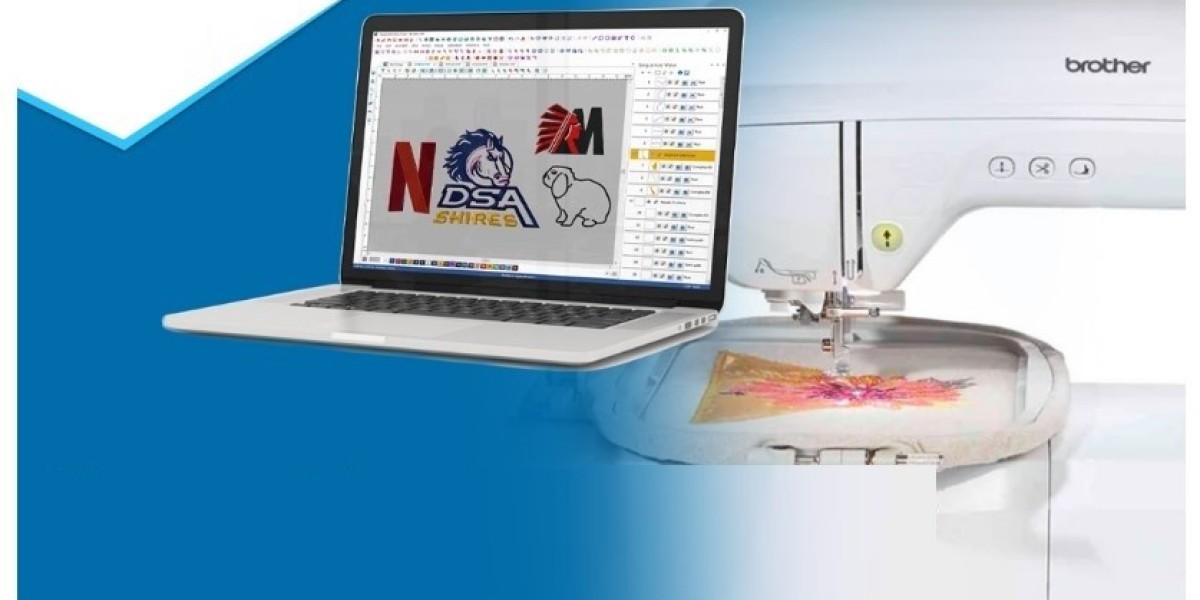

Your artwork may look perfect on a computer screen, but an embroidery machine cannot simply read a JPG, PNG, or other image file. It needs an embroidery-ready format that contains stitch instructions.
That is why many embroidery users need to convert artwork into PES format before stitching a logo, name, or custom design. PES is widely used with compatible embroidery machines and stores important information such as stitch types, colors, and stitch placement.
The good news? Converting artwork does not have to be complicated when you understand how the process works.
What Is a PES Embroidery File?
A PES file is a digital embroidery file that contains instructions for an embroidery machine. Instead of storing a normal picture, it tells the machine how to create the design with thread.
A PES file can contain information such as:
- Stitch locations
- Stitch types
- Thread colors
- Stitch sequence
- Design size
- Needle changes
- Machine movement instructions
This makes PES very different from a regular image file.
A JPG shows what an image looks like. A PES file explains how that image should be embroidered.
Why Convert Artwork into PES Format?
If you have a logo or graphic that you want to embroider, you first need to turn the artwork into a stitch-based file.
When you convert artwork into PES format, the original image is recreated using embroidery elements such as satin stitches, fill stitches, and running stitches.
This process is useful for:
- Business logos
- Monograms
- Custom clothing
- Hats and caps
- Jackets
- Uniforms
- Promotional products
- Personalized gifts
- Embroidered patches
A properly prepared PES file can help produce cleaner details, better thread coverage, and more consistent results.
What Artwork Can Be Converted to PES?
Almost any suitable digital artwork can be prepared for embroidery, but some images are easier to work with than others.
JPG and PNG Images
JPG and PNG files are commonly used for logos and graphics. They can be converted into embroidery designs, but the image usually needs to be interpreted and digitized first.
Low-resolution images may require additional cleanup before conversion.
Vector Artwork
Vector artwork is often easier to work with because its shapes and edges are clearly defined.
Common vector file types include:
- AI
- EPS
- SVG
However, simply changing a file extension does not create a proper embroidery file. The artwork still needs to be converted into stitches.
Hand-Drawn Artwork
A scanned sketch or drawing can also be turned into an embroidery design.
The artwork may need cleaning, tracing, resizing, and simplification before digitizing.
How to Convert Artwork into PES Format
The conversion process involves more than pressing a "Save As" button. A quality embroidery file must be planned for fabric, thread, needles, and machine movement.
Here is a simple overview.
1. Prepare Your Artwork
Start with the clearest version of your artwork.
Remove unnecessary backgrounds, fix rough edges, and make sure the main shapes are easy to identify.
If possible, provide a high-resolution image or vector file. Better artwork usually makes the digitizing process easier.
2. Decide the Final Embroidery Size
Size matters in embroidery.
A logo that looks excellent at 10 inches may not work well at 2 inches. Small details can disappear when converted into stitches.
Before digitizing, decide where the design will be used and its final dimensions.
For example, a left-chest logo may need a different approach from a large jacket-back design.
3. Choose Suitable Stitch Types
Different parts of the artwork require different stitch techniques.
Running stitches work well for thin lines and outlines.
Satin stitches are useful for borders, narrow shapes, and lettering.
Fill stitches are commonly used for larger areas.
The goal is not to copy every pixel of the original image. The goal is to recreate its important visual elements with stitches.
4. Set Stitch Direction
Stitch direction can change how an embroidered design looks.
Professional digitizing uses different stitch angles to create shape, texture, and visual depth.
Changing stitch direction can also help reduce problems caused by excessive thread buildup.
5. Add Underlay
Underlay stitches are placed beneath the main stitches.
They help stabilize the fabric and provide a foundation for the top layer of embroidery.
The right underlay depends on factors such as:
- Fabric type
- Design size
- Stitch density
- Stitch type
- Design location
6. Apply Push and Pull Compensation
Fabric can move or distort slightly during embroidery.
Push and pull compensation helps account for these changes. Without proper compensation, some shapes or letters may become narrower, wider, or slightly distorted.
This is especially important for detailed logos and small lettering.
7. Set Thread Colors
The artwork's colors need to be translated into embroidery thread colors.
Keep in mind that thread does not always look exactly like the color displayed on a monitor.
For important branding projects, use the closest practical thread shades available.
8. Check Stitch Density
Too many stitches can create unnecessary bulk and may increase thread breaks.
Too few stitches can result in poor coverage or a weak-looking design.
A good digitized design balances coverage, appearance, fabric behavior, and stitch count.
9. Export the Design as PES
Once the design has been properly digitized and checked, it can be exported in PES format.
The file should contain the required machine instructions rather than simply being an image saved with a .pes extension.
10. Test the Design
A test stitch-out is one of the most valuable steps.
Whenever possible, test the PES file on fabric similar to the final product.
Look for:
- Thread breaks
- Gaps
- Poor registration
- Excessive density
- Uneven lettering
- Distorted shapes
- Unwanted thread changes
Make adjustments before producing the final batch.
Can You Convert Artwork to PES Automatically?
Some software and online tools can automate parts of the conversion process. However, automatic image conversion does not always produce embroidery-ready results.
Embroidery is affected by fabric type, design size, stitch density, underlay, and stitch direction.
For a simple shape, automated conversion may sometimes be useful. But detailed logos, small text, gradients, and complex artwork usually need careful digitizing.
A machine needs stitch instructions, not just an image converted into another file extension.
Common Problems When Converting Artwork to PES
Even when the artwork looks excellent, the embroidery result may not match the screen version.
Too Much Detail
Tiny details may disappear after stitching.
Solution: Simplify unnecessary elements and keep important shapes clear.
Small Text Looks Unreadable
Small lettering can become difficult to read because thread has physical thickness.
Solution: Use suitable lettering sizes and simplify complicated fonts.
Thread Breaks
High stitch density, unsuitable settings, or poor digitizing can contribute to thread breaks.
Solution: Review density, stitch paths, underlay, needle settings, and thread tension.
Fabric Puckering
Excessive stitches or poor stabilization can cause fabric to wrinkle around the design.
Solution: Choose appropriate backing and optimize the stitch structure.
Design Looks Different From the Artwork
Embroidery cannot reproduce every visual effect exactly.
Solution: Adapt gradients, shadows, tiny details, and color transitions to techniques that work with thread.
Tips for Better PES Embroidery Files
If you regularly convert artwork into embroidery files, these practices can improve your results:
- Start with high-quality artwork.
- Choose the final design size before digitizing.
- Simplify tiny details when necessary.
- Use appropriate stitch types for each shape.
- Avoid unnecessary stitch density.
- Consider the fabric before setting stitch parameters.
- Use proper underlay and compensation.
- Preview the design before stitching.
- Always test important designs when possible.
- Keep the original artwork for future revisions.
When Should You Use Professional Digitizing?
If your design is a simple shape with few colors, you may be able to handle the process yourself with suitable embroidery software.
Professional help becomes more useful when the artwork contains:
- Detailed logos
- Small lettering
- Many color changes
- Complex shapes
- 3D effects
- Fine outlines
- Large production quantities
- Difficult fabrics
At Digitizing Buddy, artwork can be prepared with embroidery in mind rather than simply converted from one file type to another.
This distinction is important because a good embroidery file should be designed around how thread behaves on fabric.
PES Conversion vs. Image File Conversion
It is important to understand the difference between changing a file format and creating an embroidery design.
Changing logo.jpg into a file named logo.pes does not automatically create a usable embroidery design.
A proper conversion involves:
Artwork → Cleanup → Digitizing → Stitch Planning → Testing → PES Export
Each stage affects the final embroidery quality.
Frequently Asked Questions
What does it mean to convert artwork into PES format?
It means turning artwork into a stitch-based embroidery file that contains instructions an embroidery machine can use to reproduce the design.
Can a JPG be converted into a PES file?
Yes. A JPG can be used as the source artwork for creating a PES embroidery file. However, the image normally needs to be digitized rather than simply renamed or saved with a different extension.
Can PNG images be converted to PES?
Yes. PNG artwork can be used for PES embroidery digitizing. Transparent backgrounds can be helpful when preparing logos and other designs.
Is PES the same as JPG?
No. JPG is an image format, while PES is an embroidery format containing stitch information and machine instructions.
How can I get better results when converting artwork to PES?
Use clear artwork, select the correct final size, optimize stitch density, choose suitable stitch types, account for the fabric, and test the finished design before large-scale production.
Conclusion
Learning how to convert artwork into PES format is an important skill for anyone working with machine embroidery. But successful conversion involves much more than changing an image's file extension.
The artwork needs to be transformed into carefully planned stitches with appropriate density, direction, underlay, colors, and compensation.
Whether you are preparing a business logo, custom clothing design, patch, or personalized embroidery, starting with quality artwork and using proper digitizing techniques can make a major difference.
When the PES file is built correctly, your embroidery machine has a clear roadmap to follow—and your finished design has a much better chance of looking clean, balanced, and professional.